O que você está procurando?

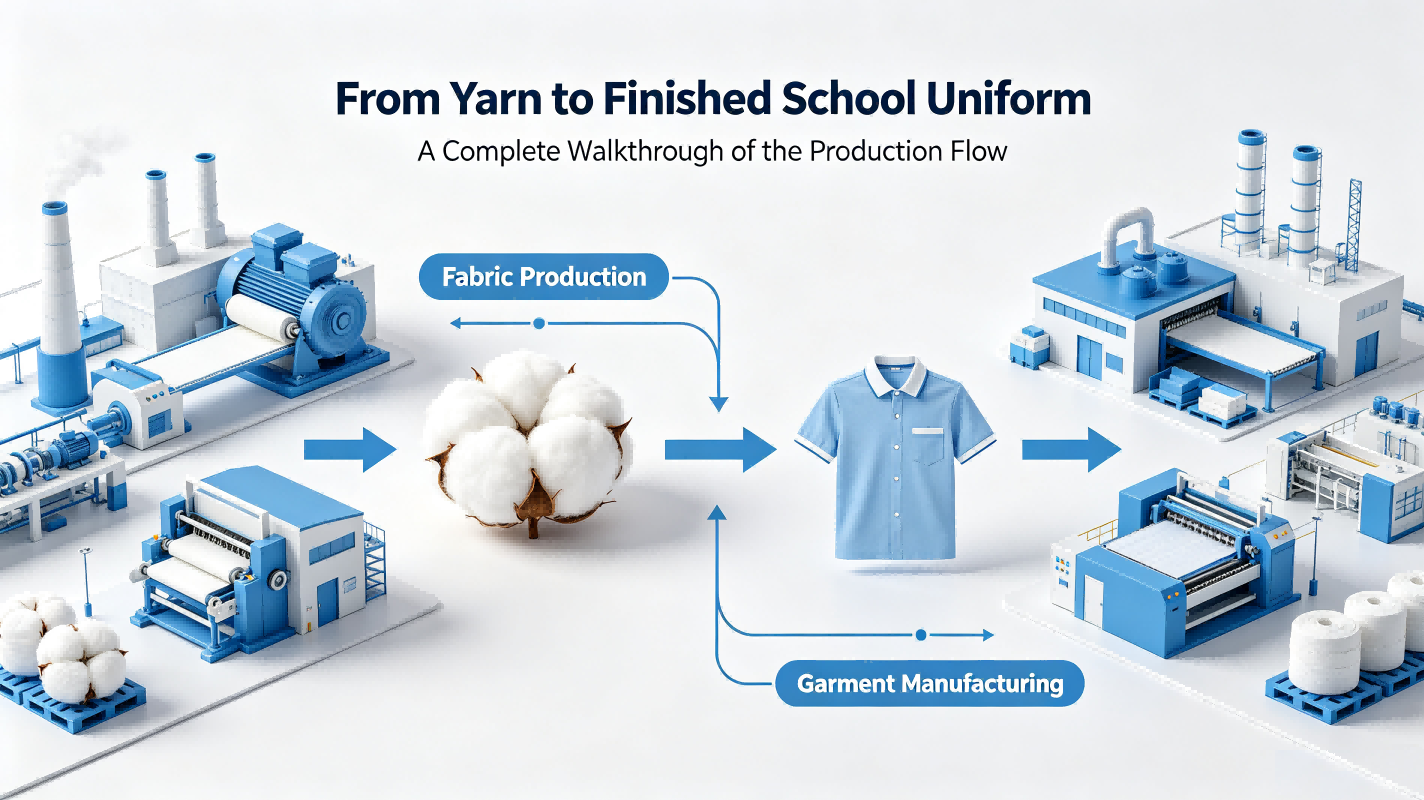
Have you ever wondered, when buying a school uniform for your child, how that piece of clothing actually goes from a pile of cotton to a finished garment your kid wears to school?
A lot of people think making clothes is just cutting fabric, sewing it up, and giving it a quick iron—done. In reality, a school uniform goes through dozens, even hundreds, of processes from yarn to finished garment. Today we're going to walk through the whole chain from start to finish, and see exactly what a uniform goes through.
First, the big number: just how many processes are there?
Different manufacturers and different techniques mean different numbers. Some say 8 basic processes, others say 18 detailed steps, some mention 22 operations, and still others say a single garment goes through 36 processes.
The numbers vary, but the core logic is the same: uniform production isn't "a tailor making clothes" – it's a standardised, modular assembly line. We'll break the whole process into two major stages—fabric production and garment manufacturing.
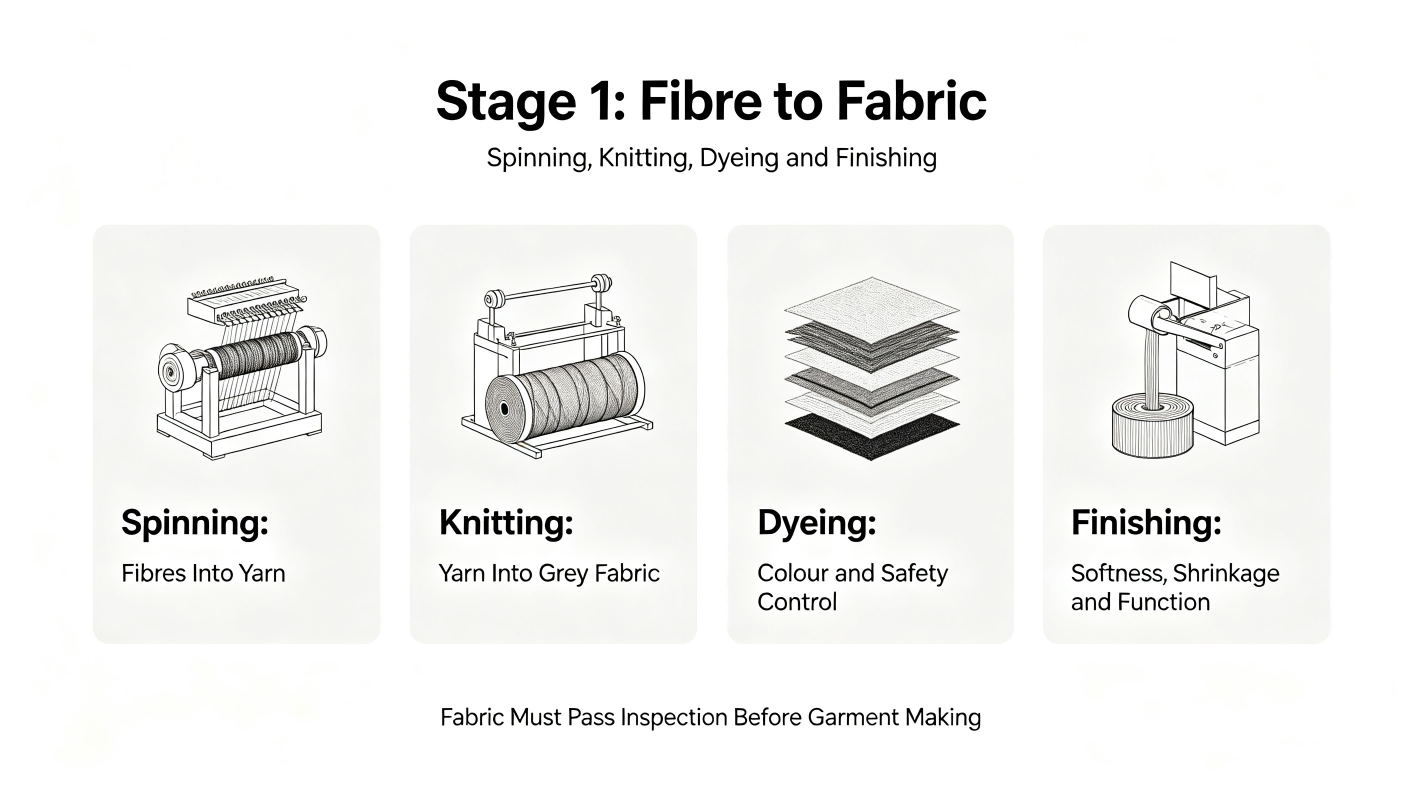
Stage 1: From fibre to fabric – where the "raw material" comes from
A lot of people assume that uniform factories just receive ready-made fabric and cut straight into it. In fact, fabric production itself is a long chain of processes.
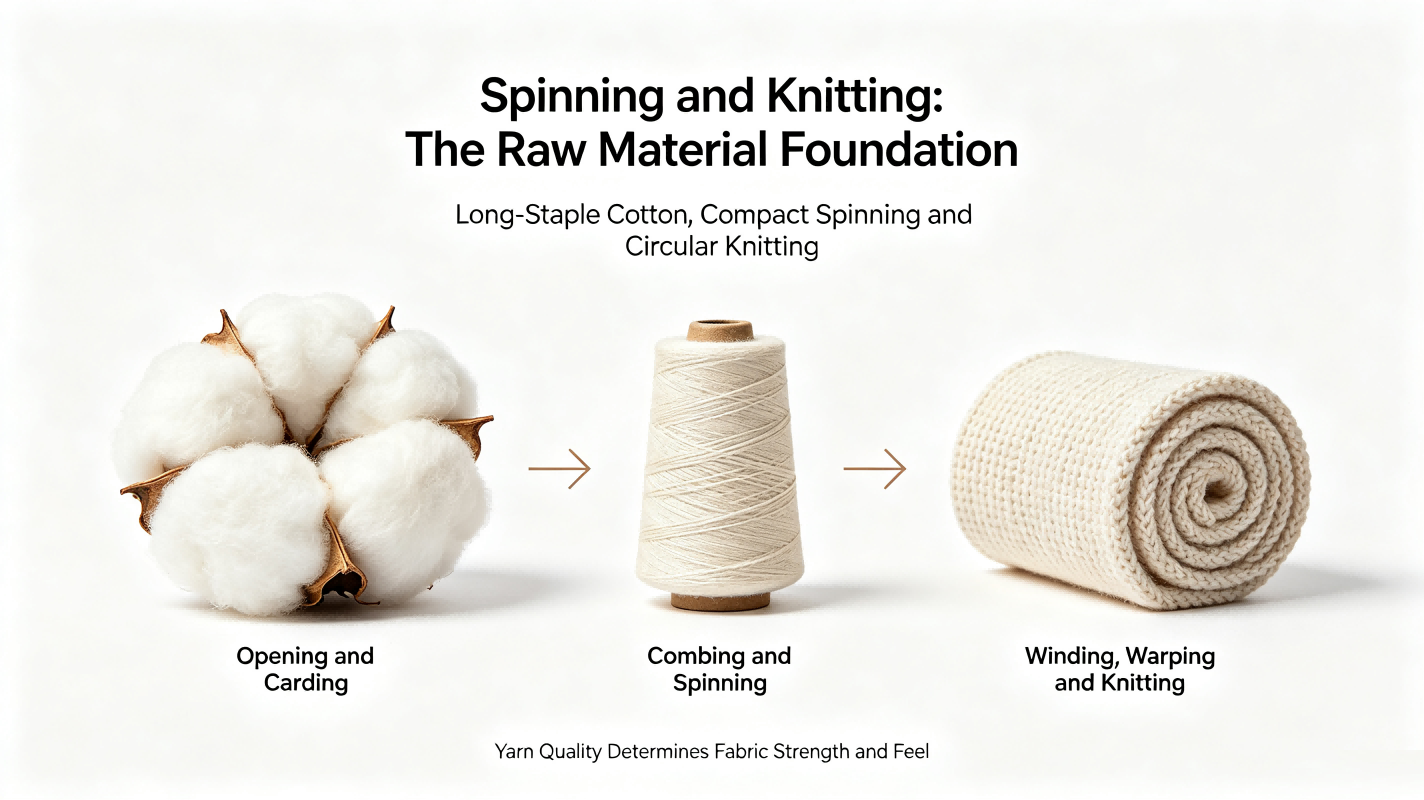
Step 1: Spinning – turning cotton into yarn
For the cotton portion of a uniform, the raw material is usually cotton. After harvesting and cleaning, the cotton goes into spinning. The goal of spinning is to twist loose fibres into continuous yarn. Spinning itself includes multiple sub-processes: opening, carding, combing, drawing, roving, and spinning.
Good uniform brands use high-quality cotton—Xinjiang long-staple cotton, for example, which has long fibres, good warmth retention, high colour fastness, and doesn't fade easily. Spinning techniques matter too—compact spinning, for instance, produces yarn with fewer protruding fibres, a smoother surface, and better abrasion resistance.
Step 2: Weaving or knitting – turning yarn into fabric
Once the yarn is spun, it goes through weaving or knitting to become fabric. Knitted uniforms are usually made on circular weft-knitting machines. During knitting, the density and firmness are carefully controlled—the fabric needs to be sturdy, but not at the expense of softness and comfort.
From yarn to grey fabric, there are intermediate steps: winding, warping, sizing, and drawing‑in. For polyester filament yarn, for example, from raw material to finished roll of fabric takes roughly seven processes.
Step 3: Dyeing and printing – adding colour to the fabric
Grey fabric comes out white (or its natural colour). It needs dyeing and printing to become the colourful uniform fabric we see. Dyeing includes pre-treatment, dyeing, reduction clearing, fixation, softening, and more.
The most important thing in the dyeing stage is dye safety. The difference between eco-friendly dyes and cheap conventional dyes is huge—conventional dyes may have excessive formaldehyde, or may contain azo compounds and other carcinogens. Uniforms that meet the national standard use eco-friendly dyes, with formaldehyde controlled within safe limits.
Step 4: Finishing – making the fabric "wearable"
After dyeing, the fabric goes through finishing—soft finishing to improve hand‑feel, setting finishing to stabilise size and prevent shrinkage, and functional finishing to add properties like quick‑dry or antibacterial performance. How well the finishing is done directly determines whether a uniform is "comfortable to wear."
Once the finishing stage is complete, a batch of qualified uniform fabric is finally ready.
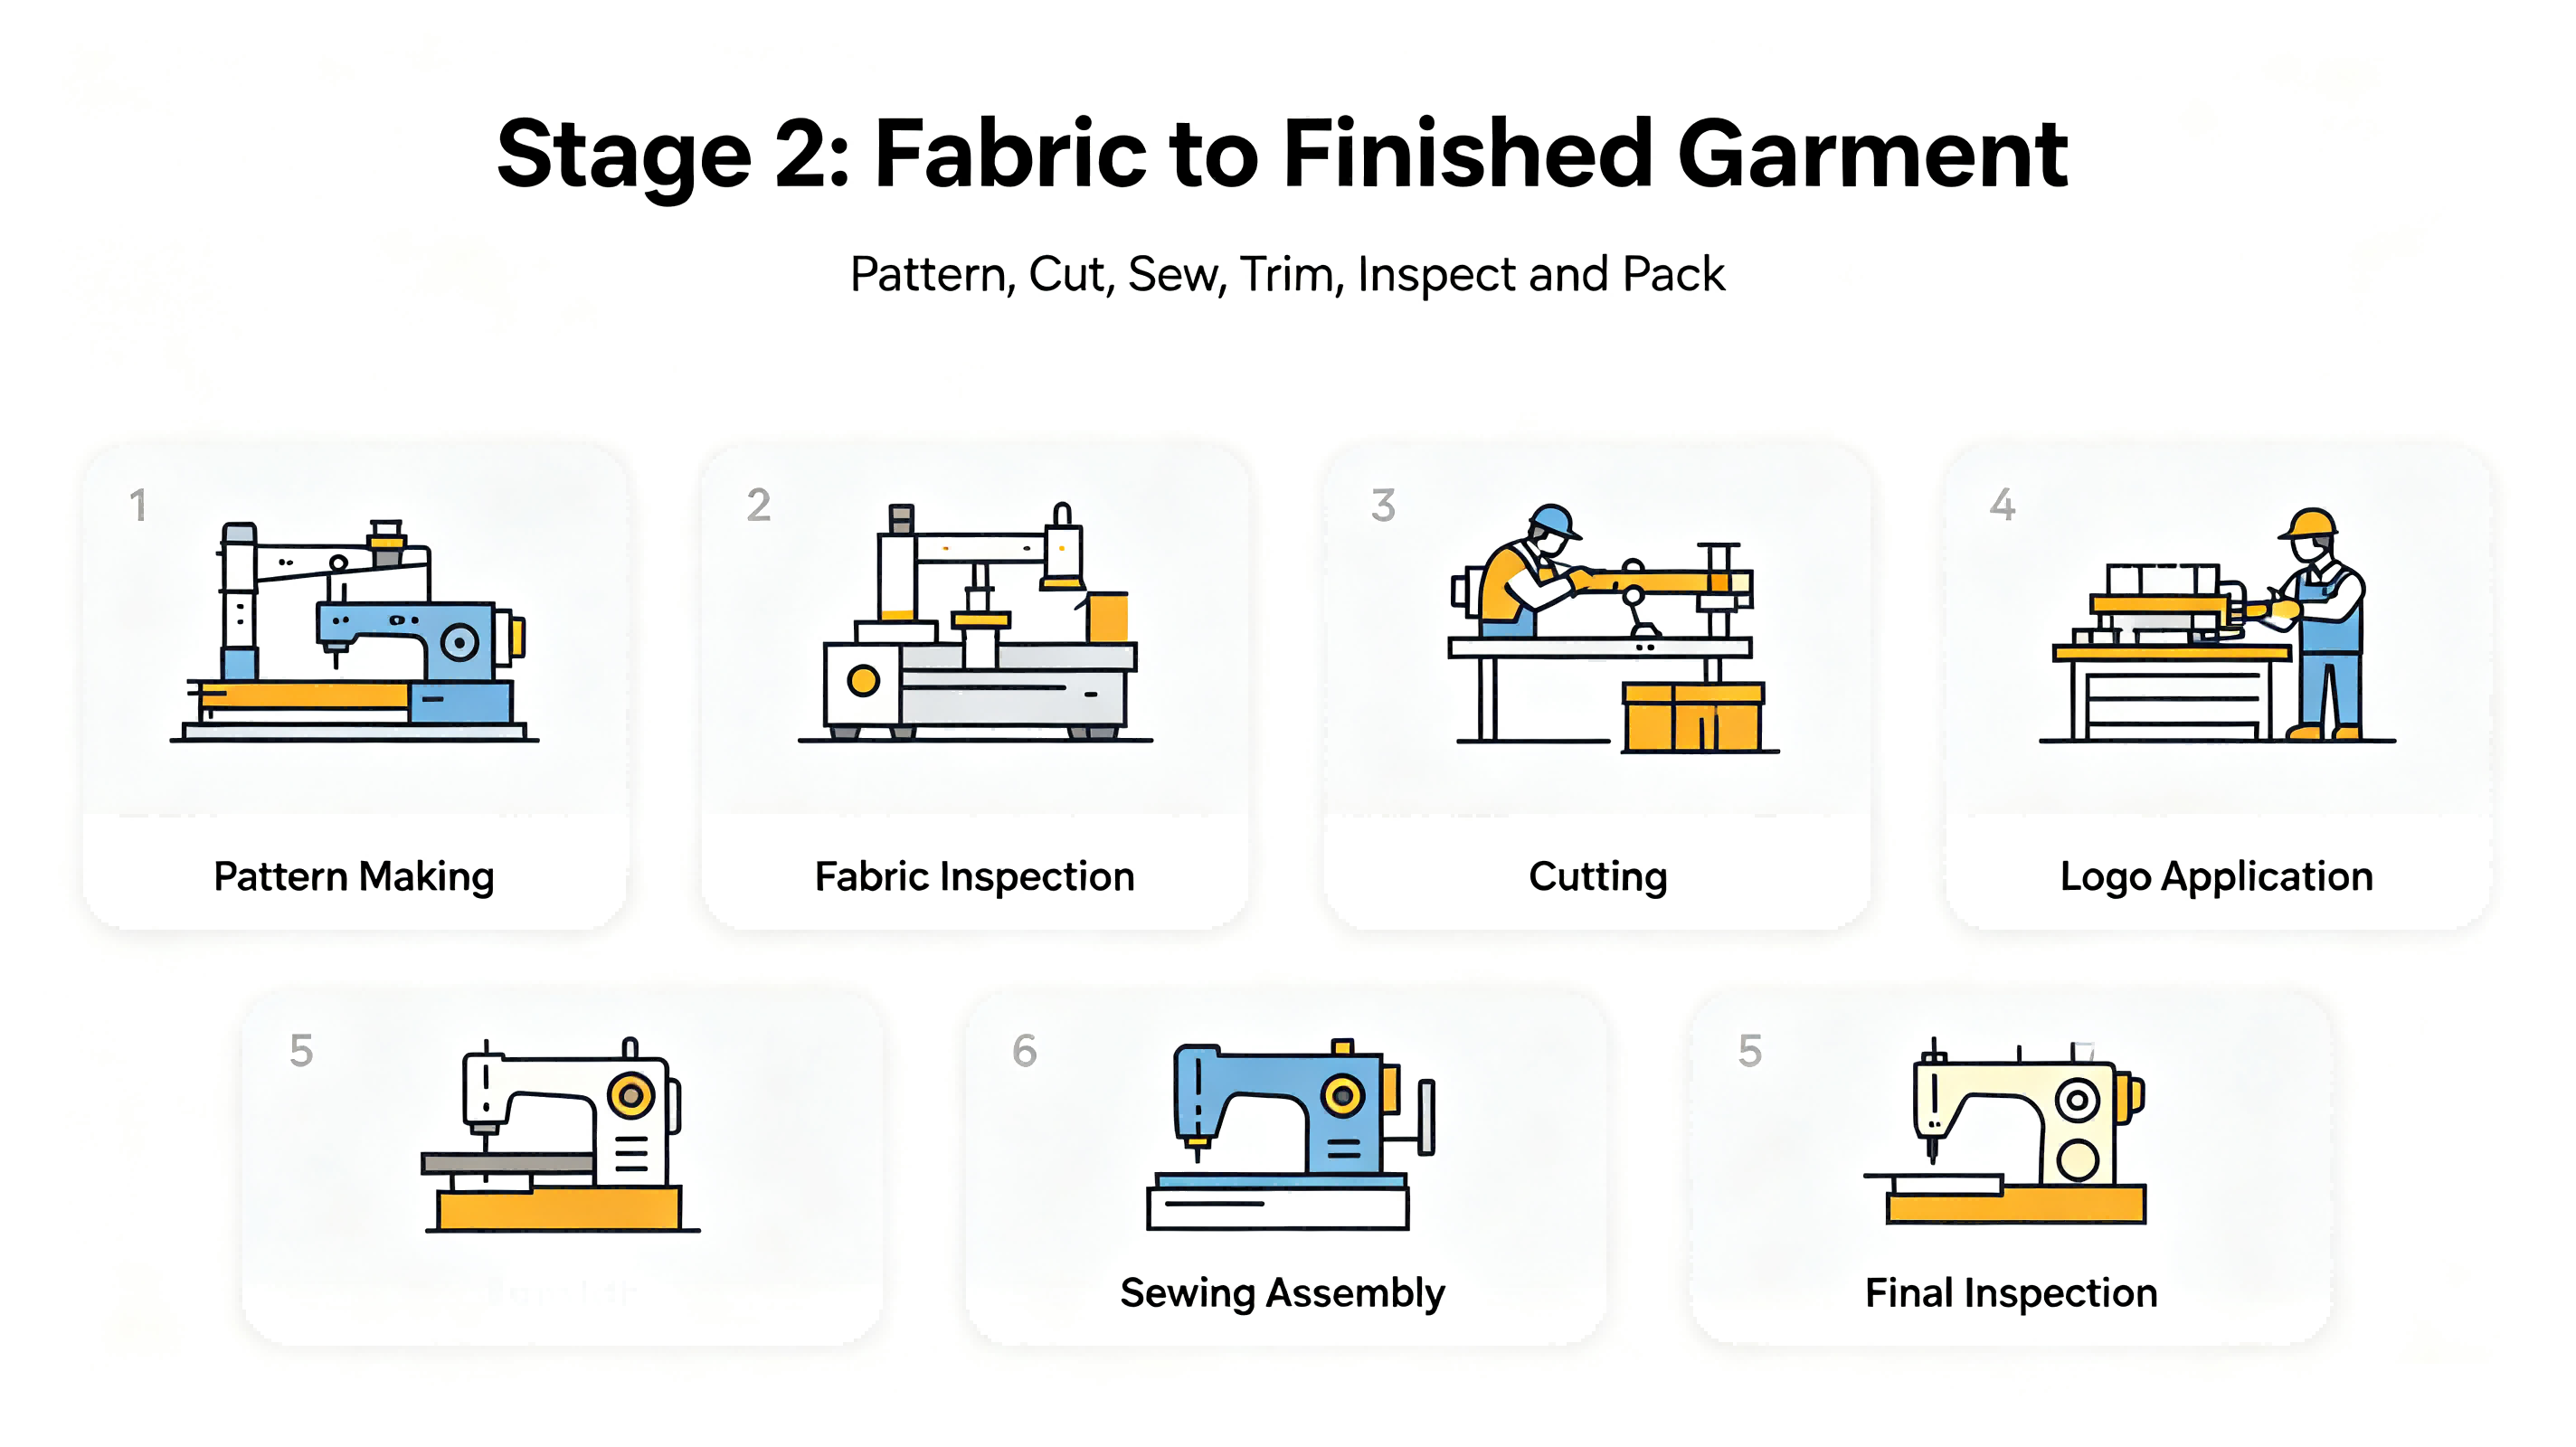
Stage 2: From fabric to garment – how the uniform is actually "made"
When the fabric arrives at the uniform factory, the real "clothes-making" is just beginning.
Step 5: Design and pattern-making – drawings first, clothes later
You can't just cut fabric straight away. First, the style is designed according to the school's requirements. Then patterns are drafted—paper templates are made. The pattern determines the garment's silhouette and dimensions—it's the foundation for every subsequent process. After the pattern is done, a sample garment is made. Only after the school approves the sample does mass production begin.
Step 6: Fabric and trims inspection – everything gets a "health check"
When fabrics and trims (zippers, buttons, elastic bands, embroidery threads, etc.) arrive at the factory, they don't go straight to the production line. First, they're inspected.
Formal uniform factories don't do just one inspection—there are multiple checks: fabric inspected by a fibre testing institute, incoming fabric inspection before warehousing, outgoing fabric inspection before use, fabric inspection on a light table, and so on. Some companies even have their own in-house labs. Every batch of fabric and trims gets not only the supplier's test report checked, but also sampled and tested in the factory's own lab. The focus is on safety indicators like pH value, formaldehyde content, and prohibited carcinogenic aromatic amine dyes.
Step 7: Cutting – turning whole rolls into "parts"
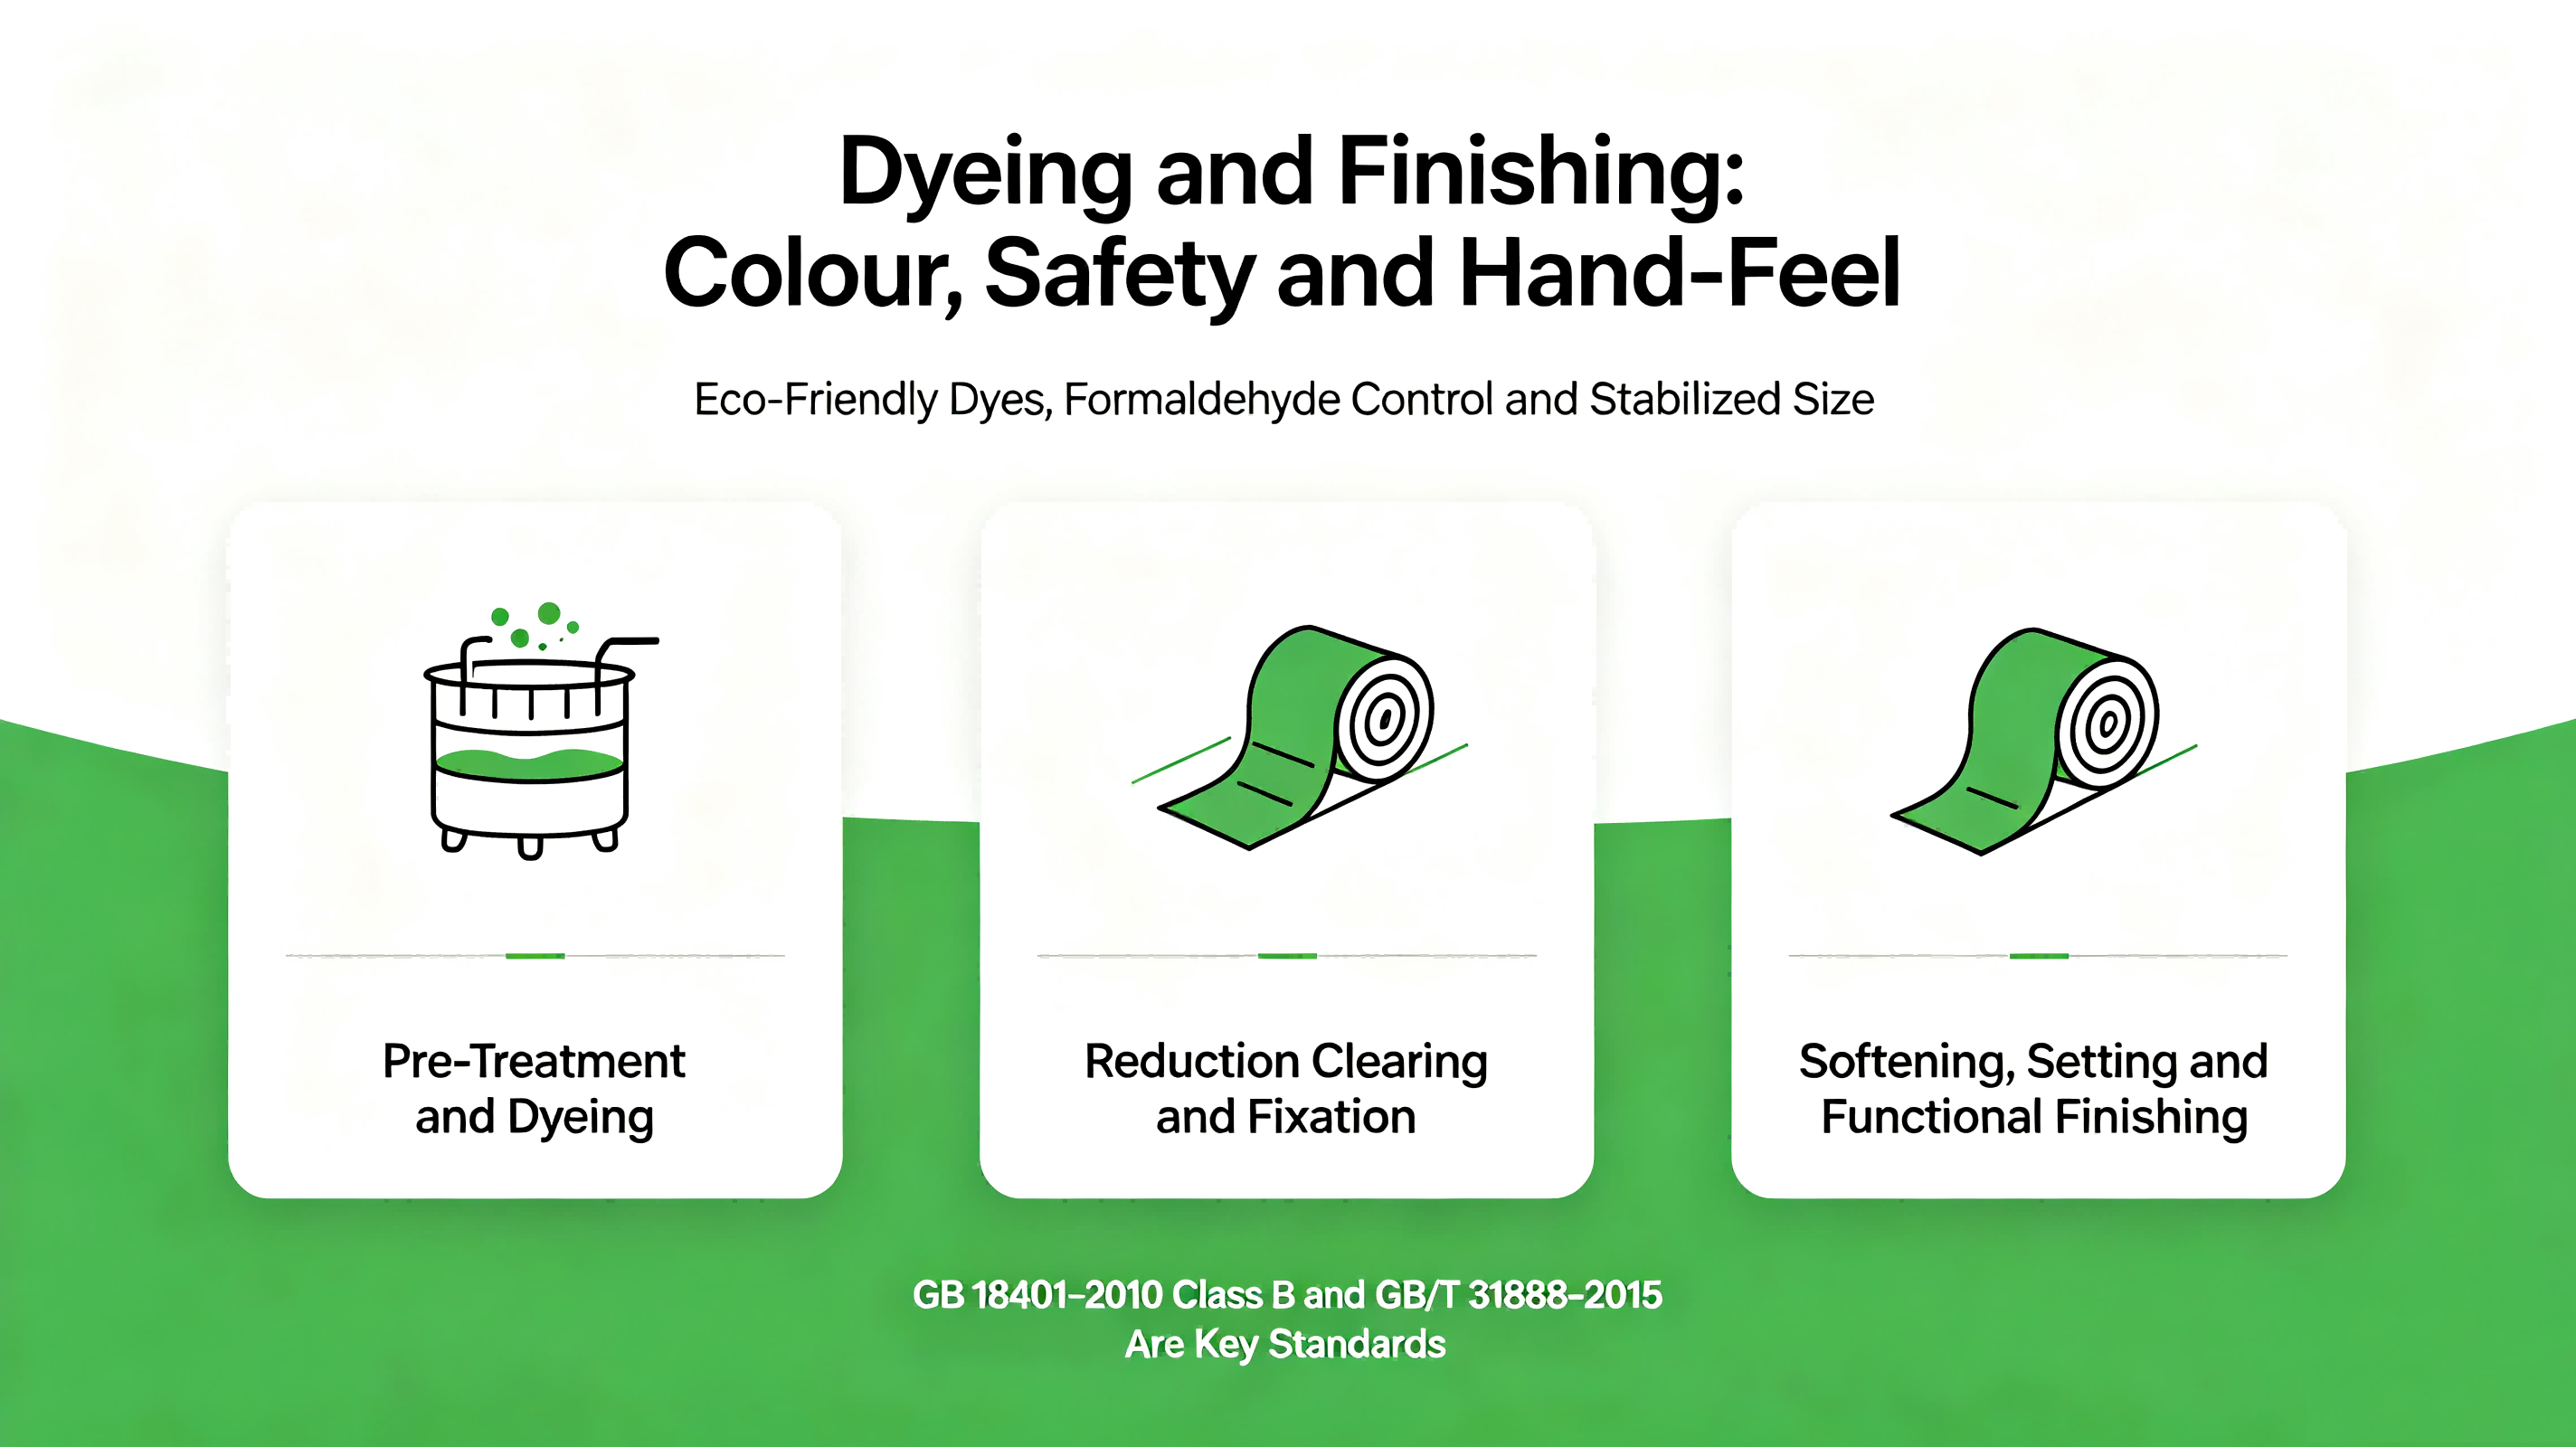
Inspected fabric moves to cutting. Before cutting, a marker layout is drawn according to the patterns. Then the fabric is spread and cut. Modern large-scale production uses computer-aided marker-making plus fully automated cutting tables—not only more precise, but also improving fabric utilisation from about 92% to over 97%.
Every cut piece is numbered, sorted, and bundled to avoid mix-ups. The cut pieces also go through inspection to ensure accurate dimensions and no defects.
Step 8: Logo production – the school's "identity marker"
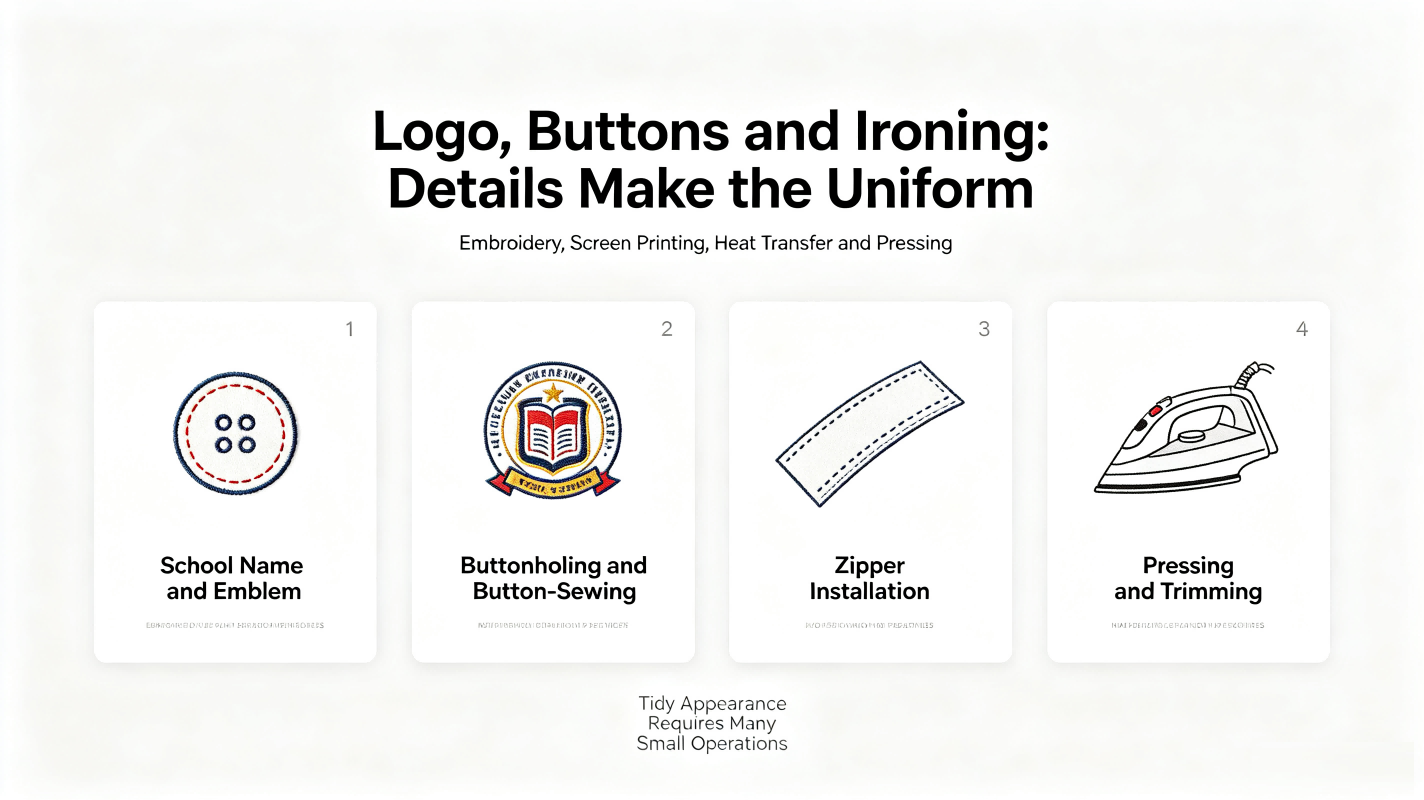
How do the school name and emblem get onto the uniform? There are several methods—embroidery, screen printing, heat transfer, woven labels, and more. This step is usually done after cutting and before sewing.
Step 9: Sewing – assembling the "parts" into a garment
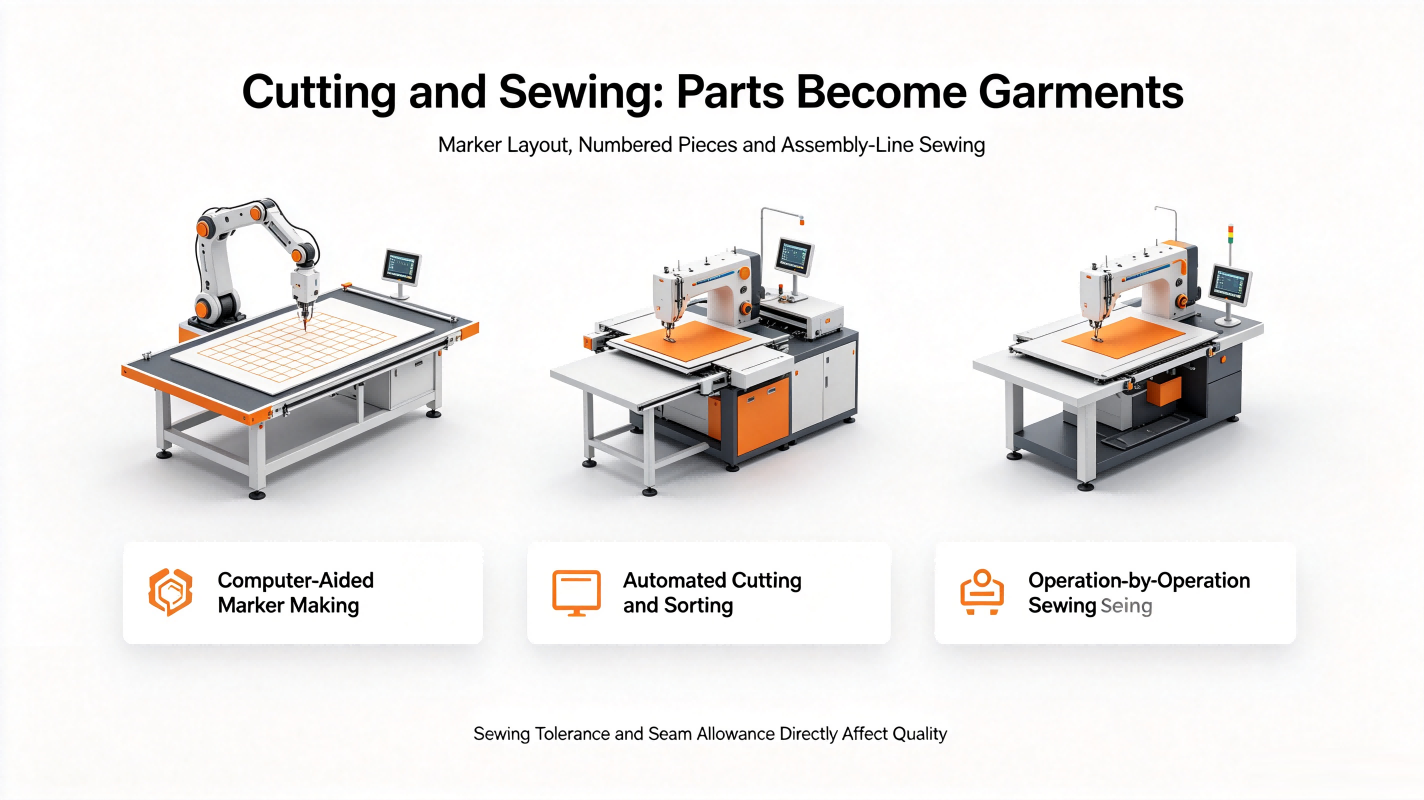
Sewing is the core process of garment manufacturing. The cut fabric pieces are joined together step by step through a combination of an automated overhead conveyor system and manual sewing operations.
Sewing isn't "one person making the whole garment" – it's assembly-line work. Some operators sew zippers, some sew sleeves, some sew front and back panels. Each workstation handles one operation, linked together in sequence. During sewing, quality inspectors make regular rounds and flag issues for immediate correction.
The detailed requirements for sewing are very specific—for example, the front placket flatness tolerance cannot exceed 0.3 mm, and seam allowances at joins must be controlled between 0.8 and 1.0 cm. For summer garments worn against the skin, the overlock seams must not leave exposed threads.
Step 10: Buttonholing and button-sewing – buttons and zippers go on
The garment is sewn, but buttonholes aren't cut yet, buttons aren't attached, and zippers aren't installed. Buttonholing and button-sewing are usually done by machine. Shirts and trousers use flat buttonholes; heavier fabrics like jackets use eyelet buttonholes.
Step 11: Ironing and pressing – giving the garment its "shape"
The sewn garment comes out wrinkled—it needs ironing and pressing to set its shape. Ironing isn't just about making it look flat—it also helps the garment maintain its intended form and dimensions. Ironing temperatures are generally controlled between 180 and 200℃. After ironing, loose threads are trimmed.
Step 12: Finished garment inspection – layer upon layer, no defects leave the factory
After ironing, the garments go through inspection. Uniform inspections run through the entire processing chain—cutting, sewing, buttonholing, ironing, and everything in between. But the final product inspection is the most important checkpoint.
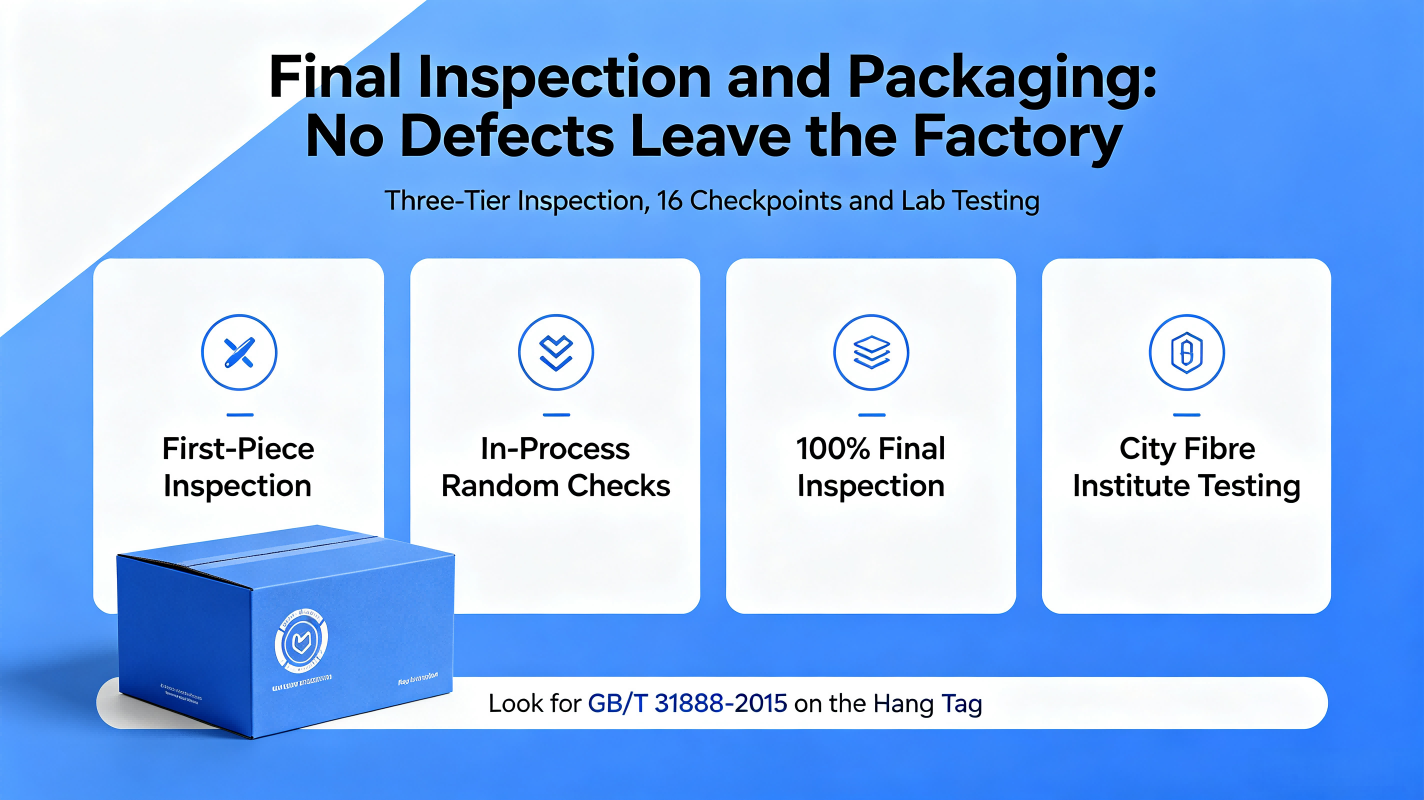
Some uniform companies have established 16 inspection checkpoints. Others use a three-tier quality inspection system: first-piece inspection, in-process random checks, and 100% final inspection. Inspectors check every single garment for missing processes, correct workmanship, and any remaining loose threads. Dimensional tolerances are controlled within ±1 cm.
Beyond in-factory self-inspection, finished uniforms are also sent to a city-level fibre research institute for comprehensive testing. Only after passing those tests can they move to the next stage.
Step 13: Packaging and warehousing – ready to go
Uniforms that pass inspection go through final trimming, ironing, bagging, and random re-checks, and are then packed and warehoused. Some schools require separate packaging by gender and category. Once packed, the uniforms are delivered to schools, and finally, they end up on the kids.
One last honest word
From cotton to finished garment, the processes a school uniform goes through are far more numerous than most people imagine—at least a dozen, often dozens. Behind every single process are specific technical requirements and quality control standards.
But having more processes doesn't automatically mean better quality—what matters is whether every single process is properly executed. Legitimate manufacturers have complete quality inspection systems. Fly‑by‑night workshops might skip half the inspection steps to cut costs.
So when you buy a uniform, flip the tag and look for the execution standard – GB/T 31888-2015. A uniform that meets this national standard at least proves that every step of its production has been documented and checked. As for those uniforms with tags that can't even explain where they came from—you have no idea how many processes were skipped behind the scenes.